DIY bathroom tile repair is a fantastic way to save money and tackle home improvement projects yourself. Whether you’ve got chipped, cracked, or loose tiles, you can likely fix them with the right tools and techniques. This comprehensive guide will provide you with a clear understanding of common tile problems, cost-effective solutions, and a step-by-step approach for successful repairs. The guide is structured to make understanding and executing these repairs simple for everyone, even beginners! We’ll cover everything from basic assessment to advanced techniques and troubleshooting. Let’s dive in!
Assessing the Damage: Identifying Your Tile Repair Needs
Common Causes of Tile Damage
Bathroom tiles can suffer from a multitude of issues, from minor chips to major cracks. Understanding the cause is critical for selecting the right repair method. Common culprits include: improper installation, temperature fluctuations, impact damage, or even the inherent movement of the supporting structure. Knowing the cause will help you anticipate future problems and work toward preventing them in the future.
Determining the Extent of the Damage
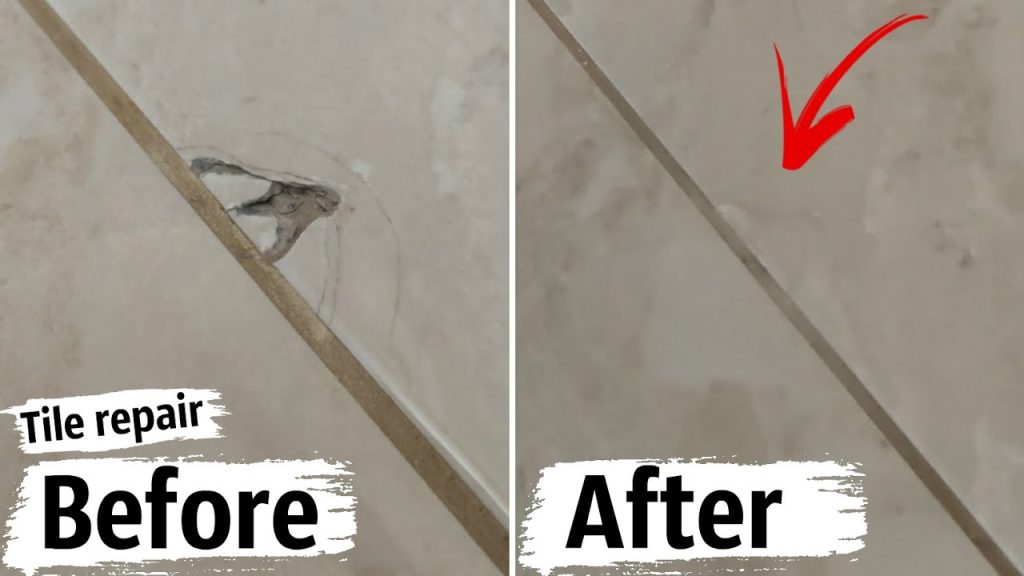
Carefully examine the damaged tile, looking for cracks, chips, or loose tiles. Estimate the size and complexity of the damage. A small chip might only require a quick fix, while a substantial crack might demand a more intricate repair. Document the extent of the damage, and take pictures for reference when selecting supplies and planning the repair process.
Essential Tools and Materials
Collect the tools and materials needed for the specific repair. A basic set of repair tools might include a tile nipper, tile cutter, grout sponge, grout removal tools, adhesive, and caulking gun. It’s recommended to research and gather all materials upfront to avoid delays during the repair process.
Preparing the Area for Repair
Removing Existing Grout
Proper preparation is key to successful tile repair. If the damage involves the grout, the first step is removing the old grout around the damaged area. Use a grout removal tool or a grout saw to carefully remove the old grout. Be sure to avoid damaging the surrounding tiles. A gentle approach is critical to prevent unintended damage.
Cleaning and Preparing the Tiles
Once the grout is removed, thoroughly clean the area around the affected tile and ensure the surface is completely dry. Use a damp cloth or a tile cleaning solution to remove any dirt or debris. Remove all loose debris and ensure the area is free of dust and residue for better adhesive bonding.
Selecting the Right Adhesive
Choose an adhesive specifically designed for tiles, ensuring compatibility with your tile material. Selecting an appropriate adhesive is crucial for a lasting repair. Consult with a retailer or manufacturer to confirm the correct adhesive for your tile type.
Applying the Repair Material
Applying the Adhesive
Follow the manufacturer’s instructions for applying the chosen adhesive. Ensure the adhesive is spread evenly over the prepared area. Apply it following proper techniques and ensure it is consistent and smooth.
Replacing the Damaged Tile
After the adhesive has cured adequately, carefully position the new tile and press it firmly into place. Ensure a secure fit by gently pressing and checking for alignment. Use a small hammer or a rubber mallet for optimal fitting. Excess adhesive may require removal to keep surfaces clean. Remember to follow manufacturer guidelines when replacing the damaged tiles.
Grouting the Repair
After the adhesive has fully cured, proceed to grout the repair. Select a grout color that matches the existing tiles and apply the grout evenly. Carefully remove any excess grout and leave it to dry according to the manufacturer’s instructions.
Finishing Touches and Maintenance
Caulking for Protection
Caulk the edges of the repaired area to prevent water damage and maintain a clean appearance. This crucial step protects your repair from water seepage or moisture infiltration. Select a caulking material that complements your tiles and ensure it’s smooth and even.
Cleaning and Finishing the Area
After the grout has dried completely, use a damp cloth or a tile cleaner to remove any residue. Thoroughly clean the entire area. Check for any remaining adhesive or grout particles to ensure a smooth finish.
Maintaining Your Repairs
Regular maintenance helps extend the life of your DIY bathroom tile repairs. Be mindful of potential problems that could arise to maintain the repairs. Ensure proper ventilation to reduce potential moisture problems in the bathroom and maintain the appearance of your bathroom tiles.
Troubleshooting Common Issues
Dealing with Gaps in Grout
If there are gaps in the grout, carefully remove the grout and clean the area again. Re-apply the adhesive and grout. Ensure you are following proper procedures to avoid recurrence.
Addressing Uneven Tile Placement
If the replaced tile doesn’t sit flush, use tools like a tile spacers or a level to correct the position. Correct any uneven tile placement to ensure that the repaired area matches the original one. Avoid using excessive force.
Identifying and Addressing Underlying Problems
If the problem persists, consider that the issue might be underlying. For example, a structural problem, or a subfloor or grout issue may be the root cause. Investigate if underlying structural issues are present and consider consulting a professional for guidance if necessary.
Frequently Asked Questions
What are the most common reasons for bathroom tile damage?
Damage can be caused by several factors, from improper installation to sudden temperature shifts, or even things like impact damage. Identifying the cause is crucial for selecting the right repair approach. For example, improper installation may lead to loose tiles. Sometimes, structural movement can affect tiles, so careful assessment is needed.
What tools are required for DIY bathroom tile repairs?
A basic set of tools may include a tile nipper, tile cutter, grout sponge, grout removal tools, adhesive, and a caulking gun. Specific tools and materials depend on the type of repair. Detailed preparation is key! Make sure you gather everything ahead of time to avoid any delays.
In conclusion, DIY bathroom tile repair is a cost-effective and rewarding way to enhance your bathroom’s aesthetics and functionality while saving precious time. By understanding the common causes of tile damage and utilizing the right tools and techniques, you can confidently tackle repairs on your own. Remember to always prioritize safety and proper preparation for the best possible results. Ready to embark on your tile repair adventure? Head to our website for a comprehensive guide and a range of helpful resources. We’re here to assist you every step of the way!