DIY deck rail repair is a manageable project for homeowners looking to save money and restore their outdoor living space. Imagine enjoying your patio without the worry of a wobbly or damaged deck railing; transforming your outdoor area through repair is achievable. This guide dives deep into safe and effective methods for fixing your deck railings, covering crucial steps, materials, and potential pitfalls. We’ll walk you through the entire process, from initial assessment to final touches. You’ll learn the critical steps to address potential hazards, how to choose the right materials for your project, and even discover some surprising tips and tricks. This article is structured to provide a clear understanding of DIY deck rail repair, taking you step-by-step through the process for a flawless restoration.
Understanding the Scope of the DIY Deck Rail Repair Project
Initial Assessment and Planning
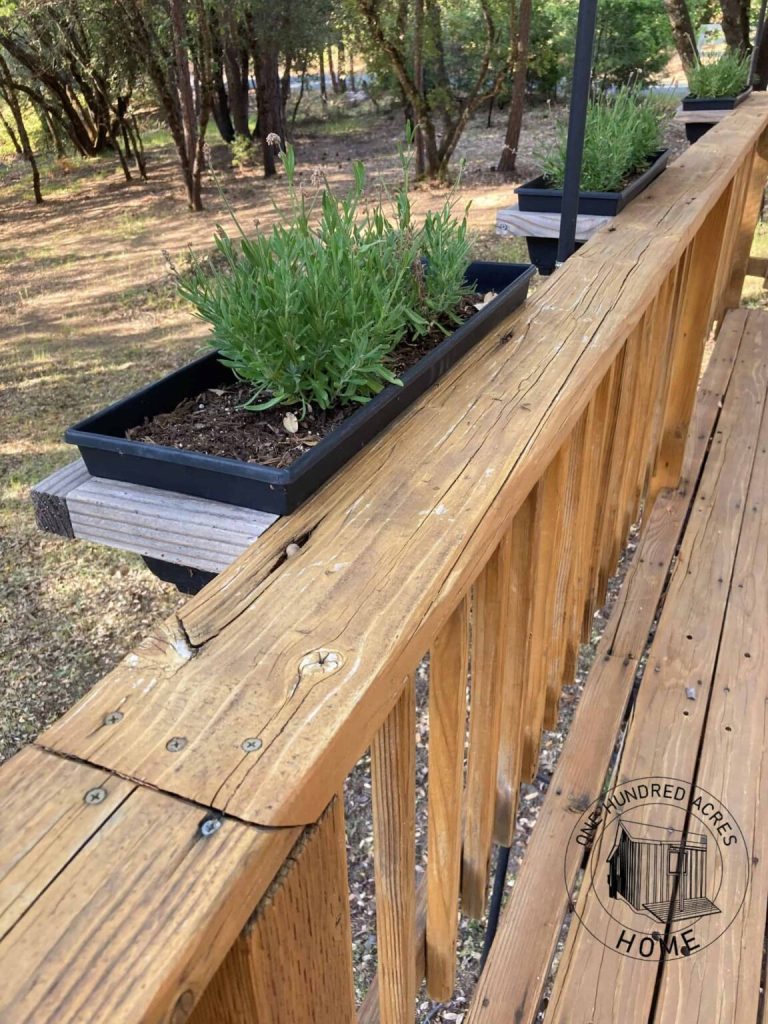
Thoroughly inspecting the damaged deck railing is the first crucial step in a DIY deck rail repair project. Identify the extent of the damage, noting any cracks, loose screws, or missing sections. This detailed inspection will help you determine the necessary materials and tools. A thorough survey will also help anticipate potential complications and address issues before starting the repair. Document your findings—taking photos or making sketches—will be beneficial during the procurement of materials and for recalling specific repair procedures later.
Safety First: Establishing a Safe Workspace
Prioritizing safety during any DIY project is paramount, especially when working with heights and potentially hazardous materials. Protect yourself with appropriate personal protective equipment (PPE), including safety glasses, gloves, and sturdy work boots. Clear the immediate workspace of any obstructions to maintain a safe and clear space. Consider using a safety harness and fall protection if the railing is at a significant height. Creating a safe workspace minimizes the risk of accidents and ensures a smooth work process.
Choosing the Right Materials for Your DIY Project
Identifying Necessary Materials and Tools
Before starting your DIY deck railing repair, carefully assess the necessary materials for your project. Selecting appropriate materials such as wood, composite, or metal is vital. Consider the compatibility of these materials with your existing deck railing to ensure longevity and aesthetics. Gather the necessary tools like measuring tape, hammer, screwdriver, drill, and safety equipment, ensuring the quality and suitability for the job. Have extra materials on hand in case of unforeseen circumstances or to cover any unexpected damages found during the repair process.
Understanding Different Materials for Deck Railing
Understanding the different materials used for deck railings is crucial for selecting the right materials for your project. Wood is a popular choice for its natural aesthetics, but it requires more maintenance compared to composite materials. Composite materials are resistant to rot and decay and require less maintenance. Metal, often stainless steel, provides an enduring option with a contemporary look. Consider the environmental conditions of your area and your personal preferences when making your decision.
Sourcing Materials Efficiently
Locate reputable suppliers for your materials. Comparing prices, quality, and availability will help ensure you get the best value for your money. Check online retailers or local lumber yards and home improvement stores to find competitive pricing options. By strategically planning your sourcing, you can efficiently acquire all needed materials for a successful DIY project.
Repairing the Deck Railing: Step-by-Step Guide
Preparing the Damaged Area for Repair
Before proceeding with the repair, the area around the damage must be meticulously prepared. This includes removing any loose or deteriorated sections of the railing. Ensure the surface is clean and free of debris or contaminants. This step is crucial to creating a strong foundation for the repair. Using sandpaper to smooth out rough areas is a step that must be done before any new materials are added to the deck. By establishing a clean and stable surface, you’re ensuring a strong, long-lasting repair.
Assembling the Replacement Parts
Carefully measure and cut the replacement parts to the exact dimensions needed. Use precision tools to accurately cut the wood or composite parts to fit the damaged areas of your deck railing. Match the existing railing’s style, color, and material for a cohesive and aesthetically pleasing result. Secure the new parts with screws or nails, ensuring a snug and stable fit.
Finishing Touches
Once all the replacement parts are in place, carefully check for any gaps or imperfections. Smooth out any rough edges or protruding parts to create a seamless and aesthetic repair. Apply necessary sealant or paint to the repaired area for protection and to match the existing railing’s finish. Take your time with these steps to produce a professional-looking repair.
Maintenance and Long-Term Safety Considerations
Regular Inspection of Deck Railing
Regularly inspect your deck railing for signs of wear and tear. Proactive maintenance is crucial for extending the life of your deck railing and preventing potential safety hazards. Look for any cracks, loose screws, or damaged sections, addressing them promptly to avoid bigger issues down the road. Conducting a visual check of your deck railing a few times a year can prevent costly repairs in the long run.
Addressing Environmental Factors
Different environments impact deck railing durability. Understanding the typical weather patterns in your area is crucial to protect your deck railing from weathering. Inspect for signs of water damage, rot, or insect infestation. Proper maintenance will prevent long-term damage. Protecting your deck railing from harsh elements is essential to preventing serious issues from forming.
Avoiding Costly Mistakes
Avoid common mistakes when attempting DIY deck rail repair. Incorrect measurements or improper installation can lead to structural issues or safety hazards. Take your time with the project to avoid making costly errors. Consult your local codes and regulations when performing DIY repairs to ensure compliance and safety.
Resources and Further Support
Finding Local Experts
If you’re feeling overwhelmed or lacking confidence in performing DIY repairs, consider consulting with a qualified deck contractor or carpenter. Finding a local expert in your area can help provide professional guidance and advice. Local experts can offer valuable insights into techniques and materials, ensuring successful outcomes.
Online Resources and DIY Guides
There are numerous online resources and DIY guides that offer helpful information on repairing deck railings. These resources can offer valuable perspectives and support when tackling a DIY deck rail repair project. By utilizing these helpful online tools you can gain insights and valuable guidance for your project.
Safety Standards
Adhering to safety standards is paramount when working with heights and potentially hazardous materials. This includes wearing appropriate PPE, using the correct tools, and ensuring your workspace is properly secured. This precaution will minimize the risk of accidents and injuries, ensuring a smooth process and preventing any serious harm.
Q: What tools do I need for a DIY deck rail repair?
A: The tools needed for a DIY deck rail repair project depend on the extent of the damage and the type of materials used. Essential tools include a measuring tape, safety glasses, gloves, a screwdriver, a drill, a hammer, saw, and a level. Additional tools such as a safety harness and scaffolding may be necessary depending on the height and complexity of the project. Having the right tools ensures a smooth and efficient repair.
Q: How do I choose the right materials for my deck railing repair?
A: Choosing the right materials for deck railing repair is essential for a lasting solution. Factors to consider include the material of your existing railing, your budget, and the desired aesthetic. If your railing is wood, you can either repair or replace the wood. For metal railings, replacement parts are commonly available, ensuring a long-lasting repair. Composite material is a popular choice for its durability and resistance to weathering. Researching different materials and considering their pros and cons will aid in making the best decision.
Frequently Asked Questions
Q: What are the most common reasons for deck railing damage?
A: Deck railing damage can stem from various factors, including weathering, impact, neglect, and pests. Exposure to harsh weather conditions, such as prolonged periods of rain, snow, or intense sunlight, can weaken the railing’s structure. Similarly, impacts from falling objects or heavy usage can cause structural damage. Neglect, meaning a lack of routine maintenance, can lead to the deterioration of materials. Pest infestations like wood-boring insects can further weaken the structure of the railing. These issues need to be addressed swiftly to prevent further complications.
In conclusion, DIY deck rail repair can be a rewarding and cost-effective project when approached with the right knowledge and tools. By following these steps and prioritizing safety, you can restore your deck’s railing to its former glory and enjoy your outdoor space. If you’re unsure about any aspect of the repair process, consult with a qualified professional. Visit our website for more DIY home improvement projects!