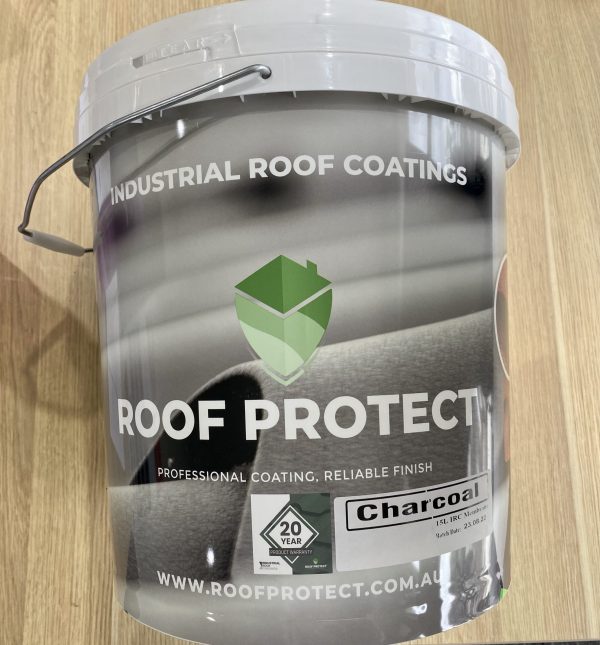
DIY roof painting is a potentially cost-effective way to protect your home’s roof and enhance its curb appeal. Imagine a beautifully restored roof, reflecting the light and adding a touch of pride to your home! However, tackling this project yourself requires careful planning, appropriate tools, and understanding of different materials. This comprehensive guide explores the intricacies of DIY roof painting, from preparation to finishing touches, offering a step-by-step approach. We’ll address common challenges, provide cost-saving strategies, and highlight important safety considerations. This guide is designed to walk you through each crucial phase of the project, helping you make informed decisions and achieve a professional-looking result.
Planning Your DIY Roof Paint Project
Assessing Your Roof’s Condition
Before you even think about picking up a paintbrush, it’s crucial to inspect your roof’s current state. Look for signs of damage, such as missing shingles, cracks, or significant weathering. Identifying these issues early will help you plan ahead and address them accordingly. Ignoring these problems could lead to more extensive damage down the line and potentially void any warranty. If significant damage is present, hiring a professional roofing contractor might be the best course of action. In addition, checking the roof’s slope and ensuring a stable environment for work is important.
Choosing the Right Materials
Selecting the correct paint is vital for long-lasting protection. Different types of roof paint are designed for various needs. For instance, some types are specialized to withstand harsh weather conditions or cope with the weight of snow and ice. Research the specific needs of your roof type and climate. Consider the price-quality ratio based on the various options. Furthermore, don’t forget essential tools and equipment such as brushes, rollers, scaffolding, and safety gear. Quality materials will save you money in the long run.
Preparing the Roof Surface
Cleaning the Roof
A clean roof is essential for optimal paint adhesion. Remove any debris, dirt, moss, or loose materials from the roof. Using a stiff brush and a power washer is helpful. A crucial step is checking for any loose or damaged shingles. Remember to protect yourself from the elements, and consider using specialized cleaning solutions, if needed. Be mindful of the amount of time the paint will take to dry; consider using specific weather conditions for your project. Proper cleaning ensures that the paint adheres well and provides a longer lifespan.
Repairing Damaged Areas
Addressing any damage on the roof surface is critical before applying paint. Repairing damaged shingles, patching cracks, or fixing other issues is necessary to ensure the integrity of your roof. Using appropriate materials and techniques will restore its structural integrity. This process will also enhance the longevity of your project. Consider hiring professionals if the damage is severe. Remember to take detailed measurements of the area and consult experts when needed.
Applying the Paint
Selecting the Right Equipment
Choosing the right tools, like brushes or rollers, can make a difference in the quality of your application. Consider the size and shape of your roof when selecting tools. For instance, a roller might be suitable for larger surfaces, while a brush may be necessary for more intricate details. Safety equipment, such as goggles, gloves, and a hard hat, is paramount. Consider the weather conditions to ensure optimal application.
Painting Techniques
Applying paint evenly is essential for an aesthetically pleasing and protective finish. Use a consistent and controlled motion, taking your time to cover the surface thoroughly and evenly. Use multiple thin coats rather than a single thick one for a longer-lasting finish. For seamless finishing, consider applying a final coat using a clean, fine brush.
Finishing Touches and Maintenance
Drying Time
Allow sufficient drying time between coats for optimal adhesion and durability. Following the manufacturer’s recommendations regarding drying time is crucial. Avoid painting in harsh weather conditions; consider the weather pattern in your area.
Inspection
After completing the painting process, conduct a thorough inspection of the entire roof to check for any imperfections. Look for drips, uneven application, or areas needing touch-ups. Ensure that the paint adheres to the surface of the roof and isn’t peeling.
Safety Precautions
Weather Conditions
Be mindful of the weather conditions. Avoid painting when it’s raining or extremely hot or cold. This can significantly affect the paint’s durability and drying time. Choose optimal weather conditions for your project and use appropriate safety measures.
Protective Gear
Always wear appropriate protective gear, such as gloves, safety glasses, and a hard hat, during the project. Taking safety precautions is crucial for the wellbeing of the worker.
Avoiding Health Hazards
Be aware of potential health hazards associated with painting materials. Ventilation and adequate protection will help prevent issues arising from this step.
In conclusion, DIY roof painting can be a rewarding project, but meticulous planning and preparation are key to a successful outcome. By following these steps and considering factors like weather conditions, material selection, and proper application techniques, you can protect your roof and enhance its longevity. Remember to always prioritize safety and seek professional help if needed. Ready to embark on your DIY roof painting journey? Visit our website for detailed instructions and additional resources!