DIY roof patching is a practical and cost-effective solution for homeowners facing minor roof damage. Imagine saving thousands of dollars by fixing small leaks and cracks yourself. This comprehensive guide walks you through the process, from initial assessment to final sealing. We’ll cover the necessary tools, materials, and steps to ensure a successful repair. We’ll also identify common problems and solutions, ensuring you complete the project safely and efficiently. The structure of this article includes a clear definition of DIY roof patching, identifies common problems, outlines the patching process, and offers a range of tools and materials to consider.
Understanding the Basics of DIY Roof Patching
What is DIY Roof Patching?
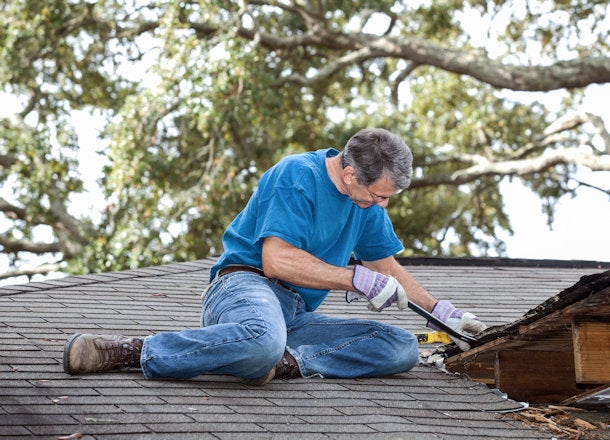
DIY roof patching involves repairing minor damages to your roof, such as small holes, cracks, or missing shingles, using readily available materials and tools. This differs significantly from full roof replacements, focusing on targeted fixes for localized issues. This method can save you a substantial amount on labor costs typically associated with hiring a professional. By understanding the steps, homeowners can effectively manage small-scale repairs.
Identifying Common Roof Issues
Many homeowners face issues like missing or damaged shingles, exposed nails, or weathering cracks in the roofing material. Recognizing these issues early is crucial to preventing larger problems that may lead to costly replacements. This knowledge provides the foundation for targeted repair, increasing your roof longevity.
Gathering the Necessary Tools and Materials
Essential Tools for the Job
Before you begin any DIY roofing project, gather the necessary tools. These may include a ladder, safety harness, gloves, protective eyewear, a measuring tape, a utility knife, and a sealant applicator. Having the right tools will greatly enhance safety and efficiency throughout the entire process. Consider if additional tools, such as a pry bar, are required depending on the specific damage.
Assessing the Damage and Planning Your Patch
Evaluating the Extent of Damage
Carefully assess the damage to determine the size and type of patch needed. Take detailed measurements of the area requiring attention, noting any surrounding features that could affect your repair strategy. Accurate assessment will influence your selection of materials and patching techniques, directly impacting the longevity and effectiveness of your repairs.
Applying the Patch: A Step-by-Step Guide
Preparing the Surface for Patching
Thoroughly clean the affected area. Remove any debris, dirt, or loose shingle material. This step is essential for creating a clean and stable surface for the patch. A clean surface ensures the patch adheres firmly, and prevents future issues.
Testing and Maintaining the Patch
Inspecting the Repair for Leaks and Damage
After completion of the patch, check for any signs of leaks or further damage. Conduct regular inspections, especially after heavy rain or storms. This preventative approach guarantees your repairs endure.
Preventative Measures for Long-Term Roof Health
Regular roof maintenance is essential. Inspect your roof for damage or deterioration annually. By adhering to simple preventative measures, you maintain the condition of your roofing system and prolong its lifespan. Schedule inspections if you are concerned about any potential issues, potentially preventing bigger problems.
Choosing the Right Roofing Materials
Selecting Roofing Materials for a Patch
Different types of roofing material require different patching solutions. Understand the specific needs of your roof before selecting your patching material. Consulting local roofing professionals can help in this case.
Frequently Asked Questions
How often should I inspect my roof for damage?
It’s highly recommended to inspect your roof annually. Visual checks can help identify potential issues early, such as minor cracks or loose shingles, thus preventing more extensive damage. This preventative approach saves you time and money in the long run by catching problems before they become major concerns.
Can I patch a large hole in my roof using this method?
No, this method is best suited for minor repairs. Large holes or significant damage usually require professional intervention. Assess the situation; if the damage is extensive, consult a roofing contractor for appropriate repair or replacement measures.
In conclusion, DIY roof patching is a viable option for homeowners looking to save money and time on repairs. By following the steps outlined in this guide, you can confidently tackle minor roof damage. Remember to always prioritize safety, use the right tools, and consult with a professional if the damage is extensive or you lack experience. This knowledge empowers you to address your roofing needs effectively and economically. Ready to embark on your DIY roof patching project? Get started now!